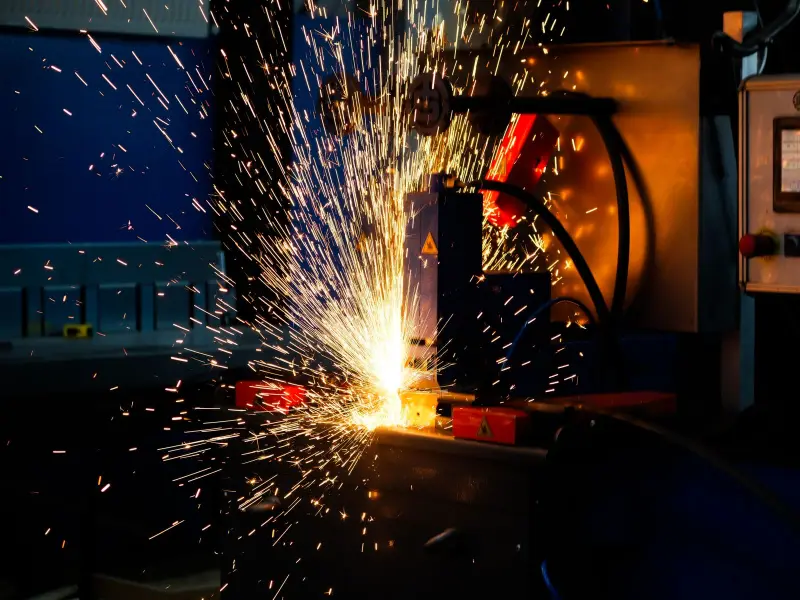
The steps by which a stainless steel gate is made: survey, drawing, cutting, welding, polishing, installation and warranty.
Many people who order a stainless steel gate see only the finished product and do not know the chain of steps behind it. Understanding the process helps you follow progress and accept the work more easily. Here are the common steps at a fabrication workshop.
Step 1: Intake and survey
The homeowner describes the need and sends a photo of the frontage. The workshop can survey on site to measure real dimensions and check the ground, wall posts, lock position and swing direction. This is an important step to avoid wrong dimensions.
Step 2: Choose the material and style
Both sides agree on the stainless steel grade (201, 304 or 316), the thickness of tubes and box sections, the surface and the pattern. The workshop advises based on location, budget and usage.
Step 3: Drawing and quote
The workshop prepares a drawing or simple rendering, breaks down the materials, labor and accessories, then sends a detailed quote. A good quote states the material grade, dimensions, thickness, accessories, timeline and warranty.
Step 4: Confirm the order and pay the deposit
After agreement, both sides sign to confirm and the homeowner pays a deposit as agreed. The completion time and warranty terms should be clearly written.
Step 5: Cutting blanks, bending, shaping
Tubes, box sections and sheets are cut to the drawing with saws, cutters or laser/CNC depending on the part. Patterns are bent using forms or by hand.
Step 6: Assembly and welding
Parts are test-fitted, measured, and then welded. TIG welding is usually used for visible joints so the welds are neat and clean.
Step 7: Grinding, polishing, weld cleaning
Welds are ground flat and polished to the same shine as the surface. The heat tint is then removed and everything cleaned.
Step 8: Inspection at the workshop
Check dimensions, squareness, flatness, welds, hinges, lock, and track smoothness (for sliding gates). Some workshops invite the homeowner to see it before transport.
Step 9: Transport and installation
The gate is transported, fitted to the posts, and the hinges and lock adjusted. If there is an automatic motor, it is fitted, test-run and the user is shown how to operate it.
Step 10: Handover and warranty
The homeowner inspects the product, test-runs opening and closing, and receives a warranty card. The warranty usually states the scope (welds, hinges, track) and the duration.
Timeline
Depending on size, complexity and the workshop's schedule, the time can range from a few days to a week or two. Ask for a specific schedule when you receive the quote.
Tips for homeowners
- Take photos of the base and posts before installation.
- Clear the access path for the workers beforehand.
- Keep the quote, invoice and warranty card.
- Do not hesitate to ask for photos of the steps if you cannot visit the workshop.
- #quy trình
- #gia công
- #cổng inox
- #xưởng